
Configuration articles and guides for software and hardware. These settings are mandatory unless otherwise stated
PREPARE YOUR SYNTHESIZER FOR THE EDITOR
First, we need to Configure Access Virus A / B / C / TI / TI2 so that it is ready to communicate with the software.
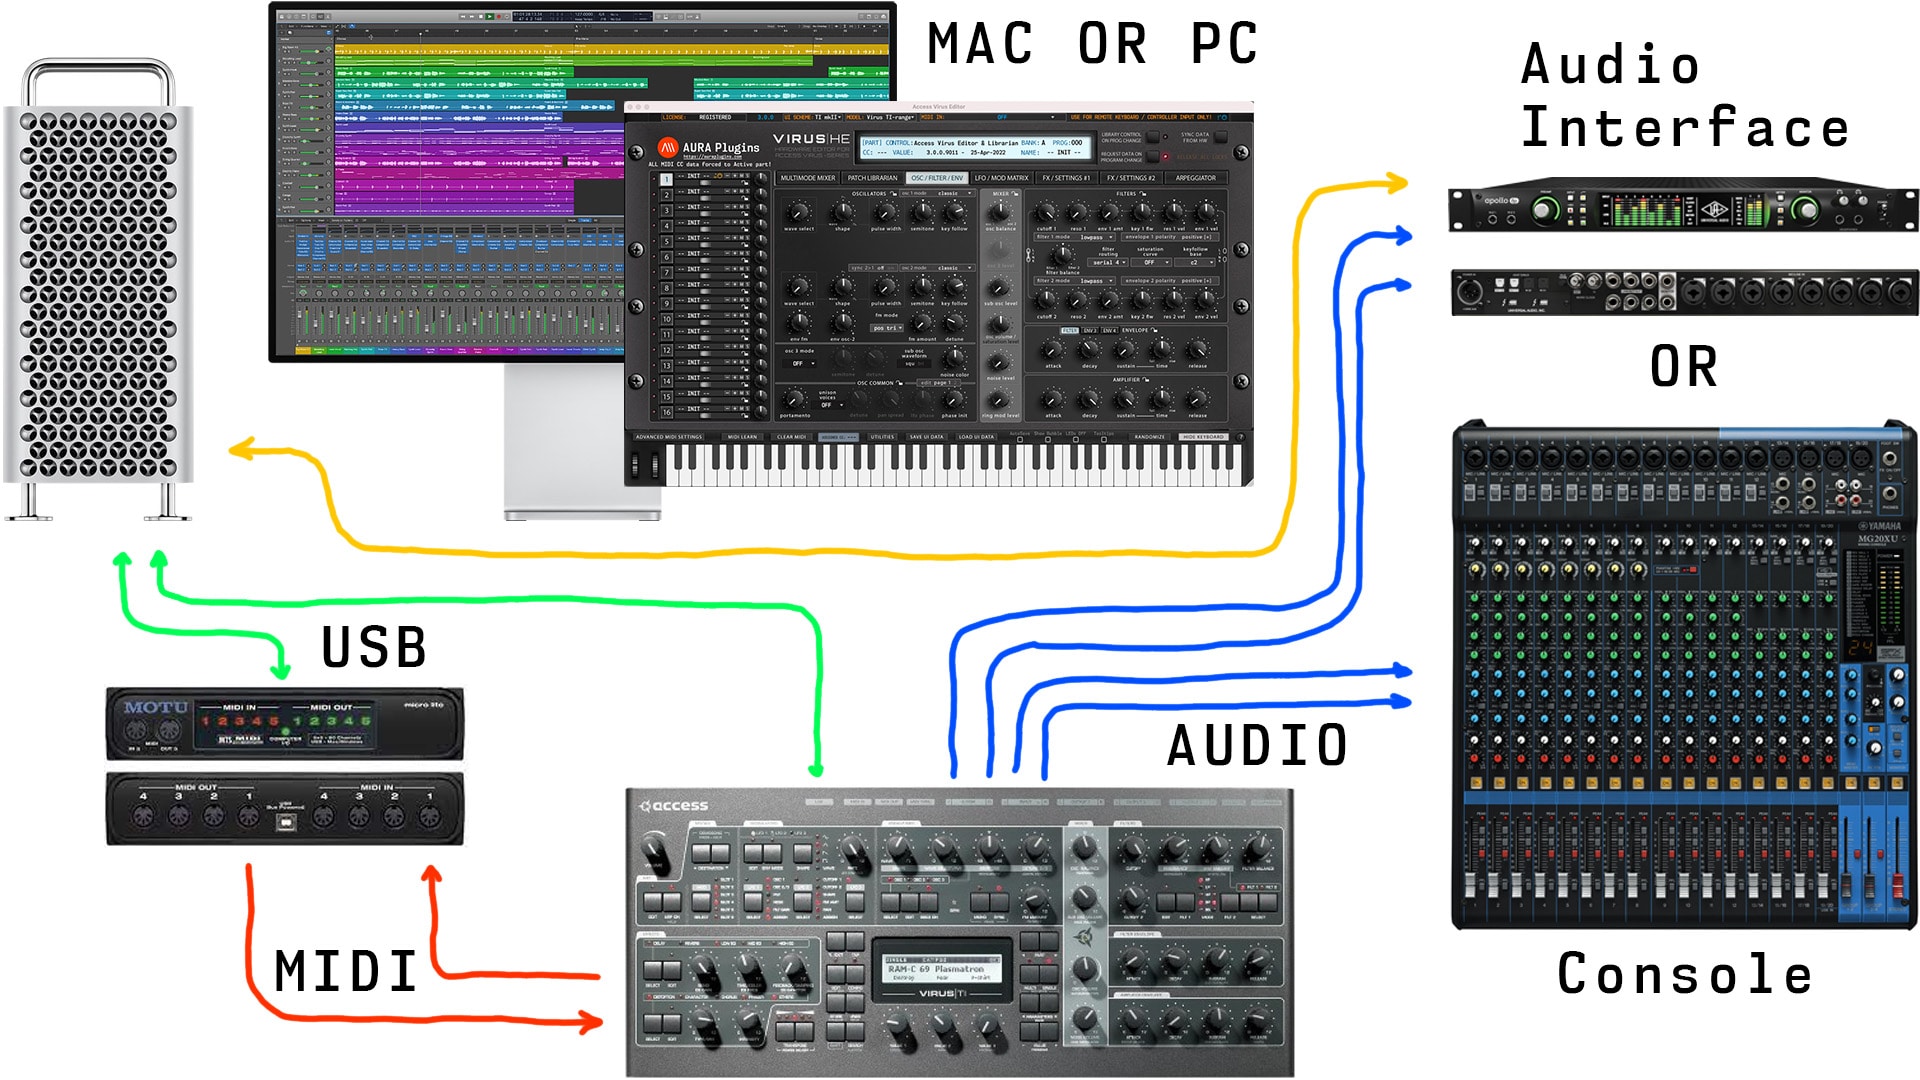
Connect the MIDI cables to the MIDI interface and Audio Jacks to your console / sound card. MIDI out from synth to MIDI interface IN and vice versa. No MIDI thru or other ports.
- MIDI Out from MIDI interface to Virus MIDI In port.
- MIDI Out from Virus to MIDI interface MIDI In port.
- double check your cables!
- Audio from Virus Out 1-2 to console or sound card inputs.
- Add more audio cables from Virus output ports as needed.
NOTE for Virus TI Users: If you plan to use MIDI cables instead of USB connection, UNPLUG the USB cable from your Virus or the editor won’t be able to establish the connection.
When USB is plugged in, Virus MIDI ports act as a MIDI interface for external equipment.
Wiring diagram example
Note that USB connection between Virus TI and computer is not needed if you have good enough MIDI interface in your setup.
Virus Editor User Manual – If MIDI is used, unplug the USB cable
Power up your Virus. Our editor is designed to work “out of the box” and control all parameters from single application instance.
NOTE: Our editor is designed to work only in multi-mode. Single mode is not supported and will never be. There is zero benefit of using the Virus in single mode.
In fact, when Virus is in multimode, you have 16 single mode instances of Virus available!
Configure Virus A, B, C, Rack and Rack XL series
After Virus is powered up, enter Global settings and apply following settings.
NOTE: Menu and Button examples from Virus C user manual.
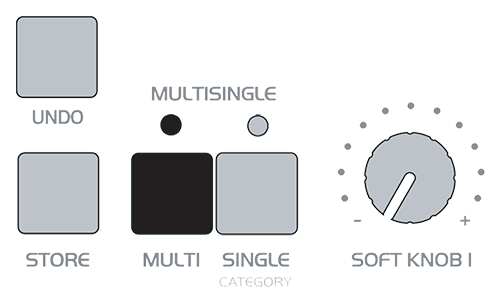
Virus Editor User Manual – Enter Multi mode

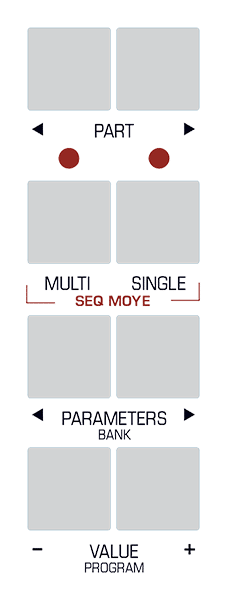
Virus Editor User Manual – Enter Global settings
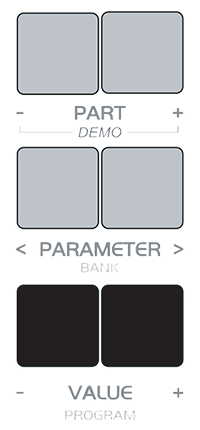
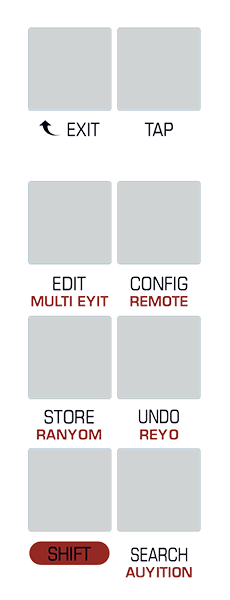
Virus Editor User Manual – Use value buttons
Use PARAMETER buttons to find and VALUE buttons to adjust following parameters
If parameter is not mentioned, you can skip it and navigate forward.
NOTE for External Clock: Arpeggiator will not play unless DAW is unable to provide MIDI Clock. Windows: Check our method of using MIDI OX and LoopBe together to provide MIDI clock from DAW to your synth.
Configure Virus TI and TI Snow series
After Virus is powered up, enter System settings and apply following settings.
NOTE: Menu and Button examples from Virus TI user manual.
Virus Editor User Manual – Enter Multi mode
Virus Editor User Manual – Enter Config menu
Use PARAMETER buttons to find and VALUE buttons to adjust following parameters
If parameter is not mentioned, you can skip it and navigate forward.
All set! We are now ready to open our plug-in in DAW!
To get more information about how to adjust your synth, read the Access Virus User Manual.
NOTE for External Clock: Arpeggiator will not play unless DAW is unable to provide MIDI Clock. Windows: Check our method of using MIDI OX and LoopBe together to provide MIDI clock from DAW to your synth.